| Table Setting Window
Now, let’s learn how to make a table, which is also the most challenging part of creating a web document.
Using the Mong9 Editor’s table feature, Web documents can feature a wide variety of features, just like regular documents.
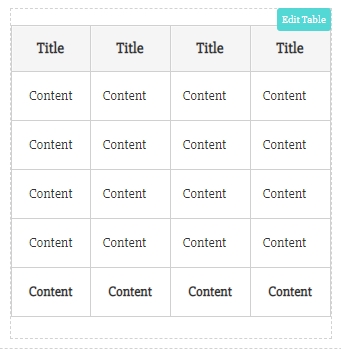
When you click the ‘Edit Table’ button of the right corner on the table block, the following window is activated.

For example, to edit a table beautifully in a word processor, you had to press the right mouse key and enter the cell border/background, adjust each line thickness or line style, and specify a background color.
However, you don’t have to spend a lot of time editing a good-looking table, because the Mong9 Editor comes with a pre-design.
Let’s start with the Table setup screen to see what styles are available.
| Design

Six table styles are available by default.
Choose from six pre-design table designs from T1 to T6 and apply them to the table properties.
| Head color

When you enter the table setup window, there are various pre-design color names.
You can change the color of the table head by selecting and clicking on the desired colors.
| Merge/Divide

This time, let’s find out how to put together and divide the cells.
First, drag the cells you want to join the table with your mouse.
You can see that the cell is activated in blue.
With the cell active in blue, drag it to the cell you want to join.
Release the mouse from the drag area to hold the cell.
At this time, press the Join button in the open table settings window.
The selected cells have been combined.
The cells can be combined with just a few mouse actions.

Next, let’s divide the cells. First, hold the cell you need to share with the mouse.
You will divide the cells vertically, so click the “Cell Vertical Division” button in the open table setup window.
The cells were divided vertically.
Click the “Vertical Divide” button one more time to divide the cell.
| Change Order

Now let’s change the order of the tables.
First, you can see that the above screen will be activated by clicking the “Change Order” button.
As such, you can drag the row or column where you want to move your position and drop to the desired area to change the order.
This also shows that you can easily change the order of rows and columns with your mouse.
| Insert

Drag and drop the table block to the edit area first.
Press the “Add Column on Right” button to the left of the table area where you want to insert an additional right column.
You can see that space has been added to the right.
Similarly, press the “Add Column on Bottom” button below the table area you want to insert to further insert the lower space.
A line has been added at the bottom.
| Delete

Let’s try to delete the lines and the columns.
The cell has been deleted by pressing the “Delete Cell” button.
The line has been deleted by pressing the “Delete Line” button.
| Etc


When you see ‘Etc’, there are an icon called “<thead> conversion” and “<tfoot> conversion”.
It is intended to convert from to <thead>, <tfoot> when the <thead> and <tfoot> attributes disappear when inserting and deleting tables.
Usually, the and attributes disappear while deleting or inserting row and column.
Let’s take a look at how to assign attributes again.
The part representing the row at the top of the table is called <thead>, and the part representing the sum of the bottom is called <tfoot>.
This is the case for a table with only standard table attributes(<tbody>).
I clicked the “<thead> convert” button and gave attribute to the top.
I clicked the “<tfoot> convert” button and added the attribute to the bottom.
So far, we’ve had time to find out about the table setting window.
When I made each table, it felt elementary without any difficulty.
The most important thing is that the design was pre-engineered, so you didn’t have to change the table.
I felt good because I could reduce the time to design the table.
This article was written in Mong9 Editor.
Click the link below to download Mong9 Editor.
